Time in the Studio
When you open that box in the mail or pick up a bar of soap from me locally, do you ever wonder how that bar of soap came to be? I know that before I started making soap it seemed like thing of alchemy. Water, fats, and lye turn into something that takes grease, dirt, and germs off of just about any surface? Crazy.
Well fast forward three years and I’ve been making small 8-15 bar batches of soap regularly. The magic is definitely still there, but the scary part about it, the lye, is gone. Working with lye (sodium hydroxide) is definitely intimidating at first and it is absolutely something you never let your guard down on. Lye burns are horrible (I haven’t had one) but think about the scene in Fight Club and you’ll know what I am talking about. The scariness about lye can be tamed though, all you need are a pair of chemical safe gloves, non reactive mixing equipment, a mask, and eye protection.
During a recent day in the studio I decided to take some pictures. Mind you I’m a home based business and my studio is in my basement so the lighting isn’t fabulous. However, you’ll get an idea of how your soap is made!
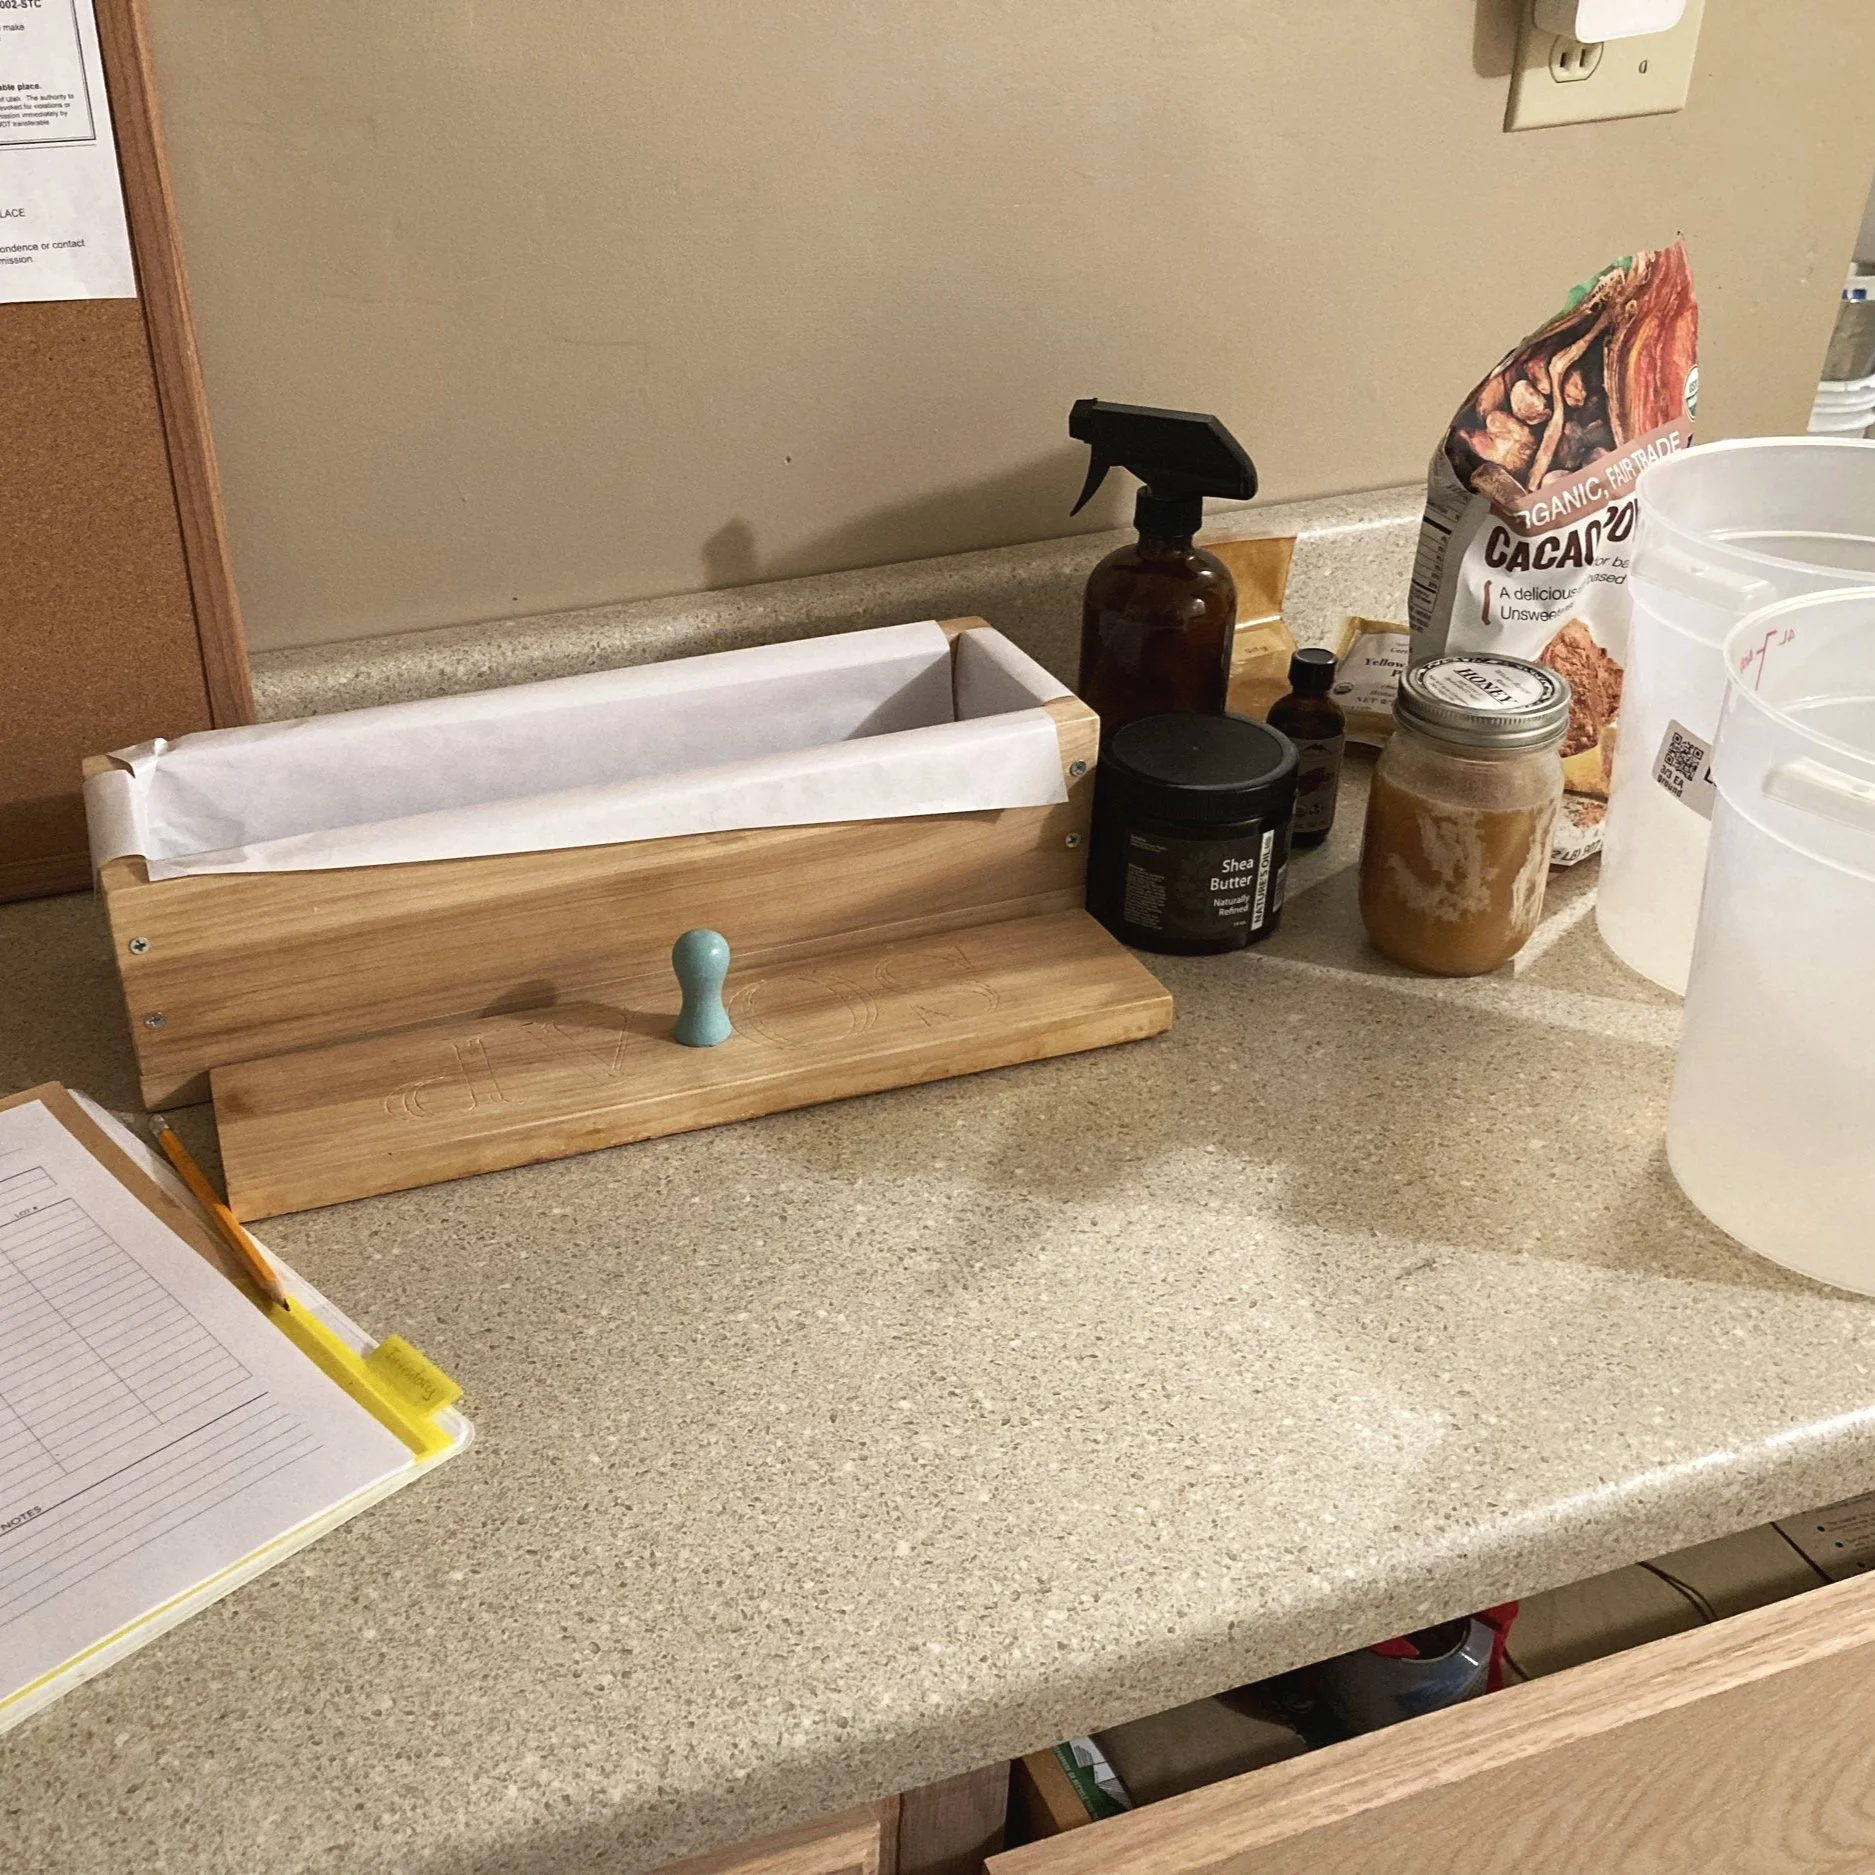
Here’s where I measure and mix.
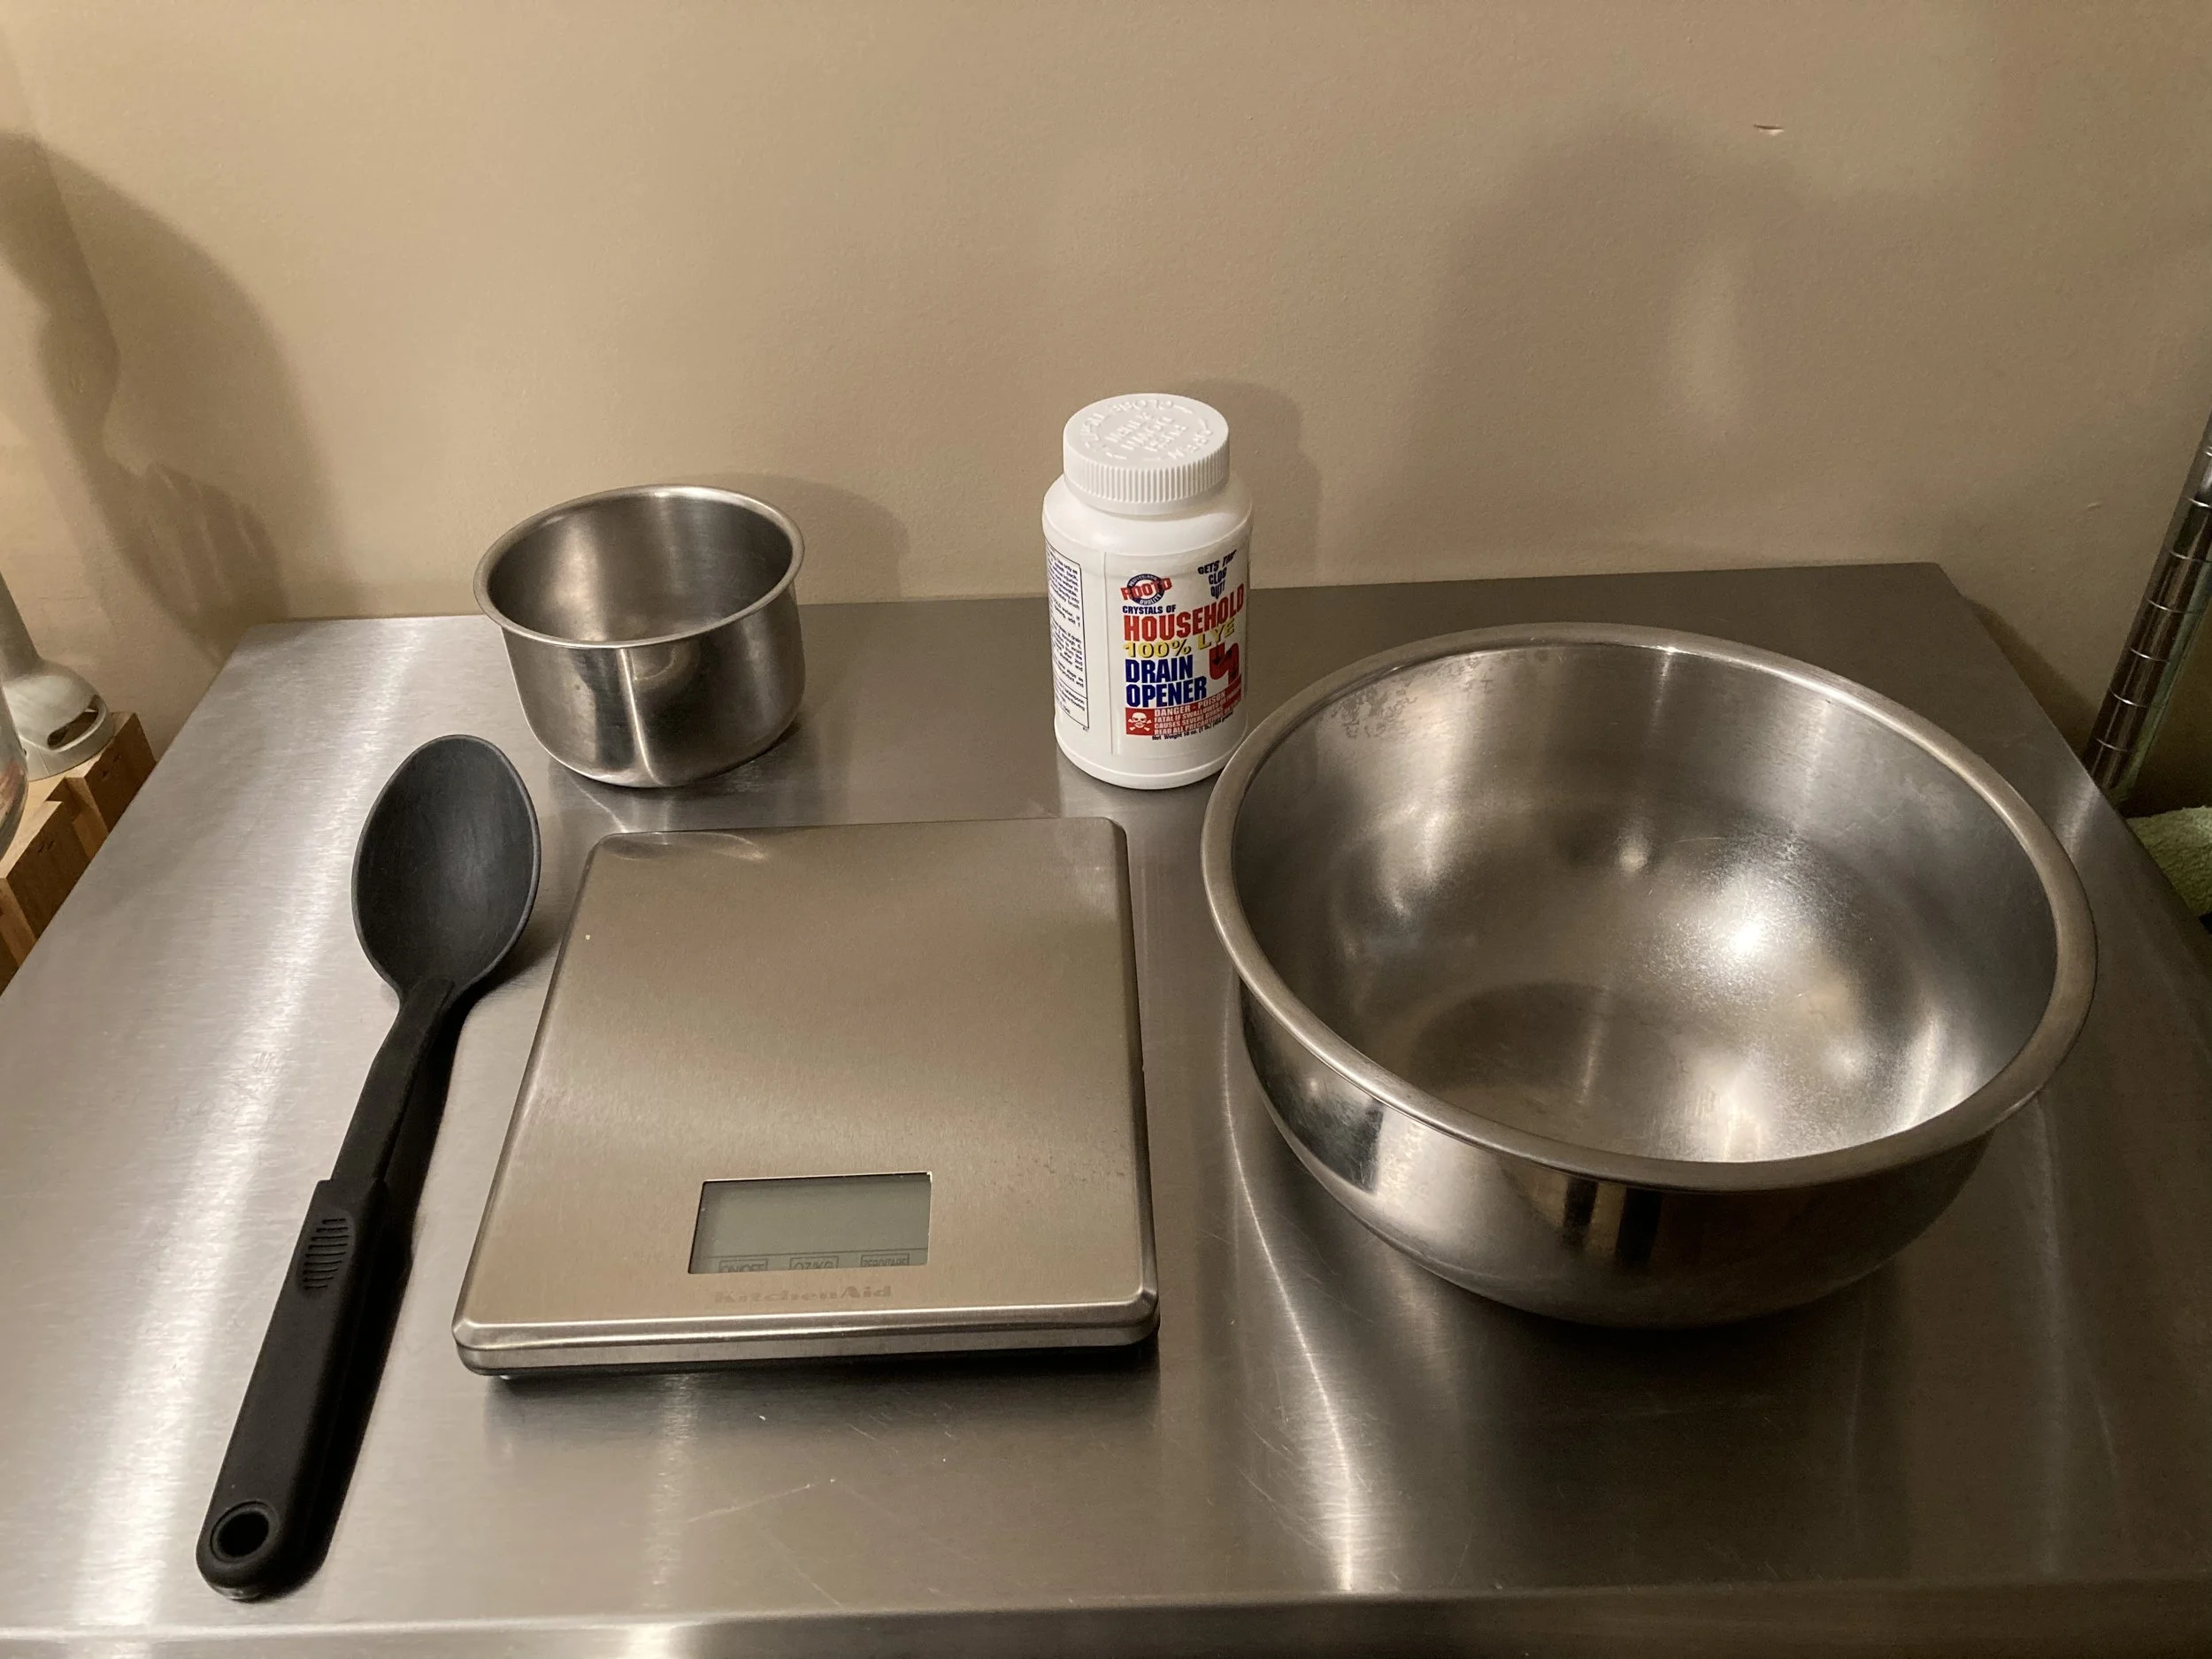
Measuring out the lye with protective glove on! I mixed the lye and water later but had to put my phone away.
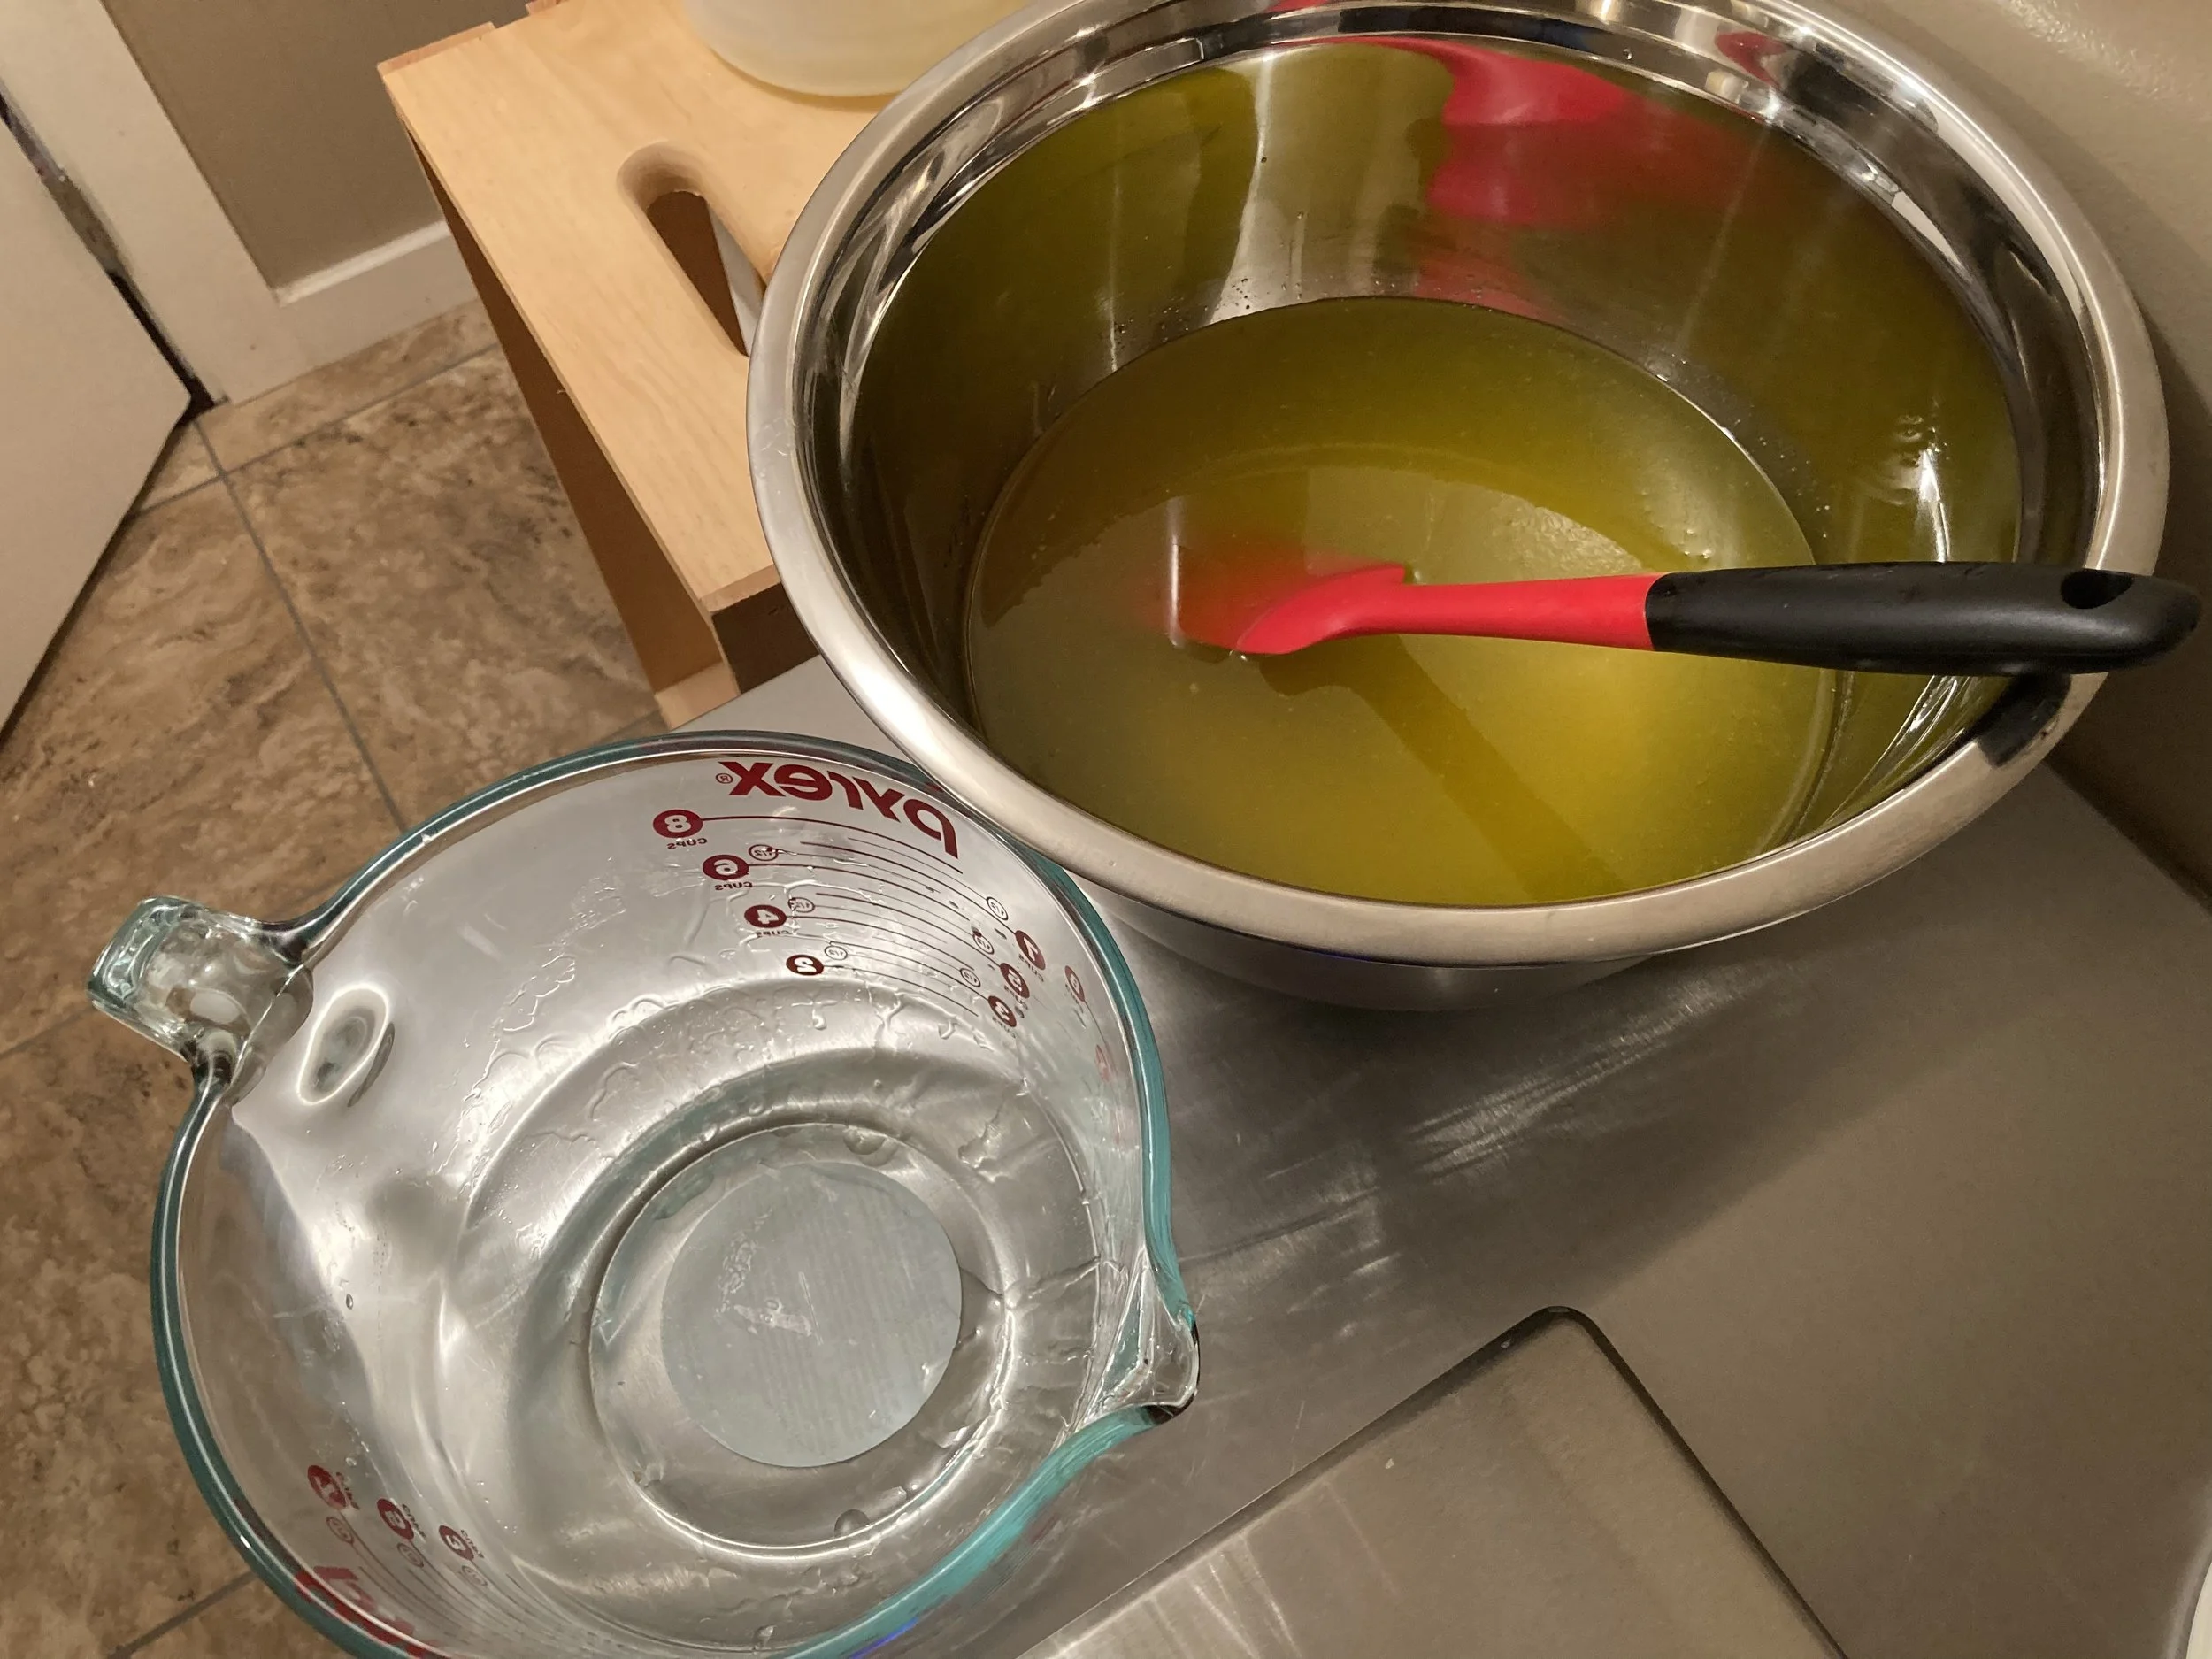
Measuring out the luxurious oils that go into each batch of soap.
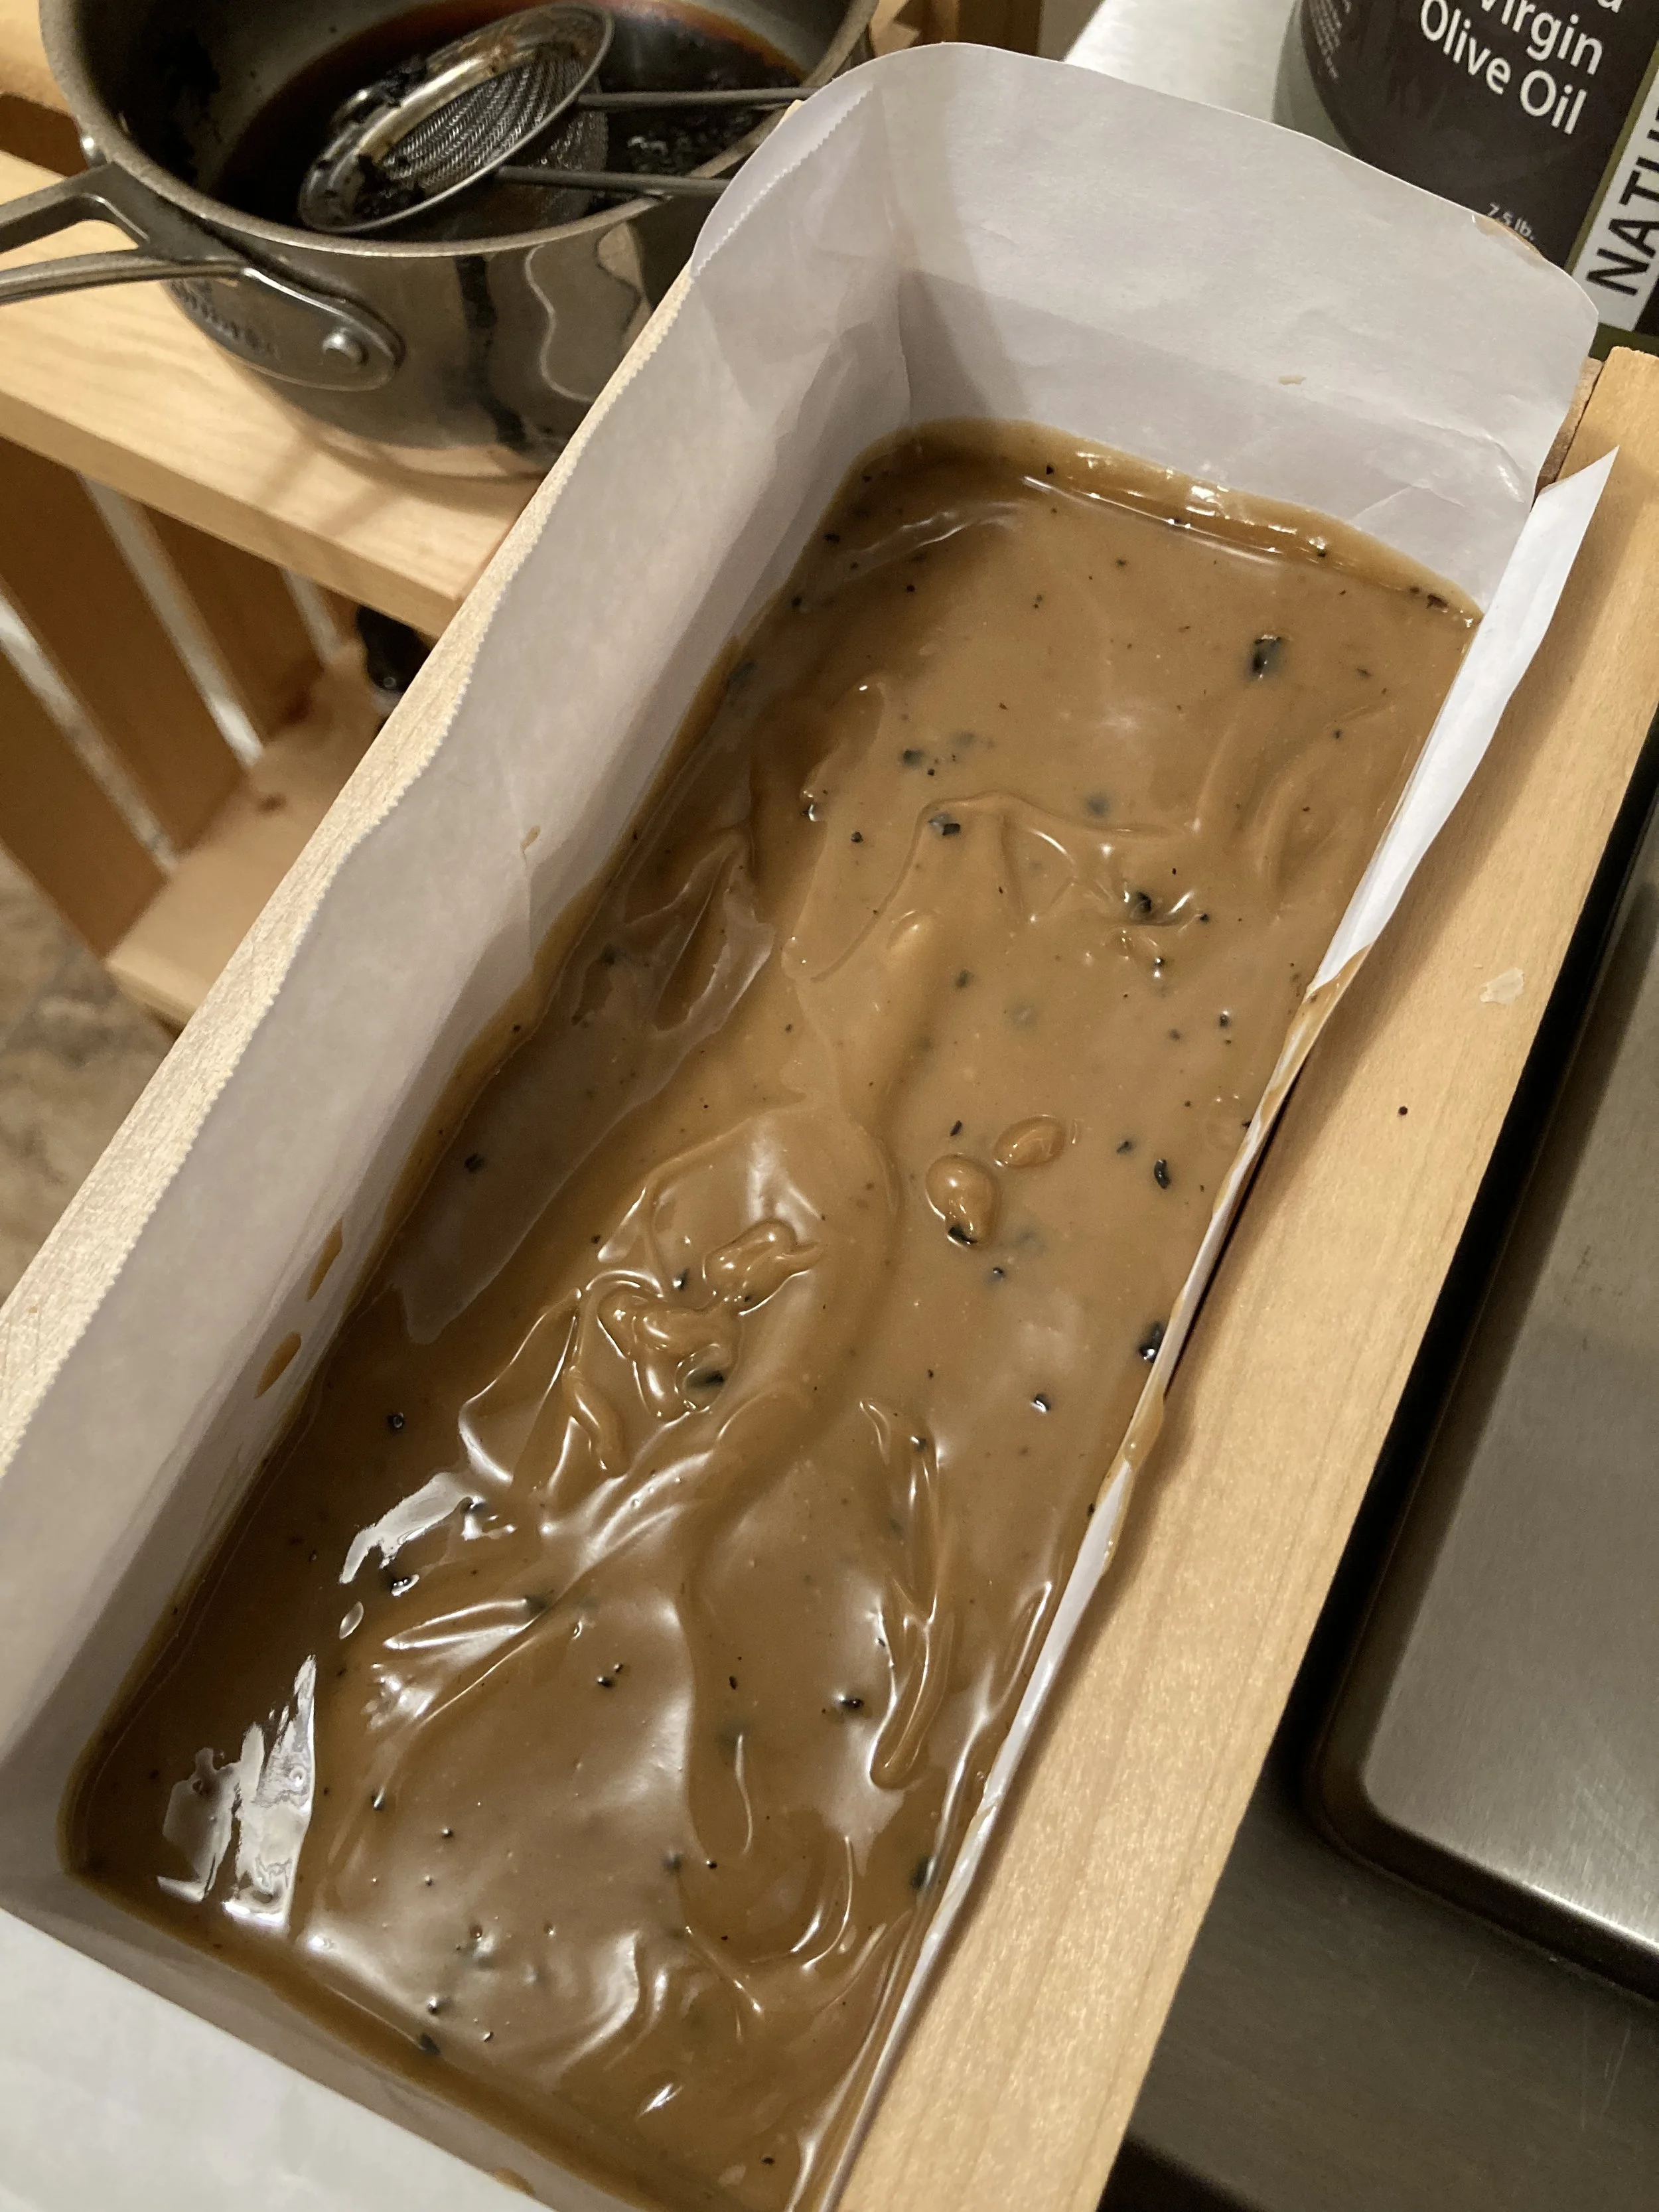
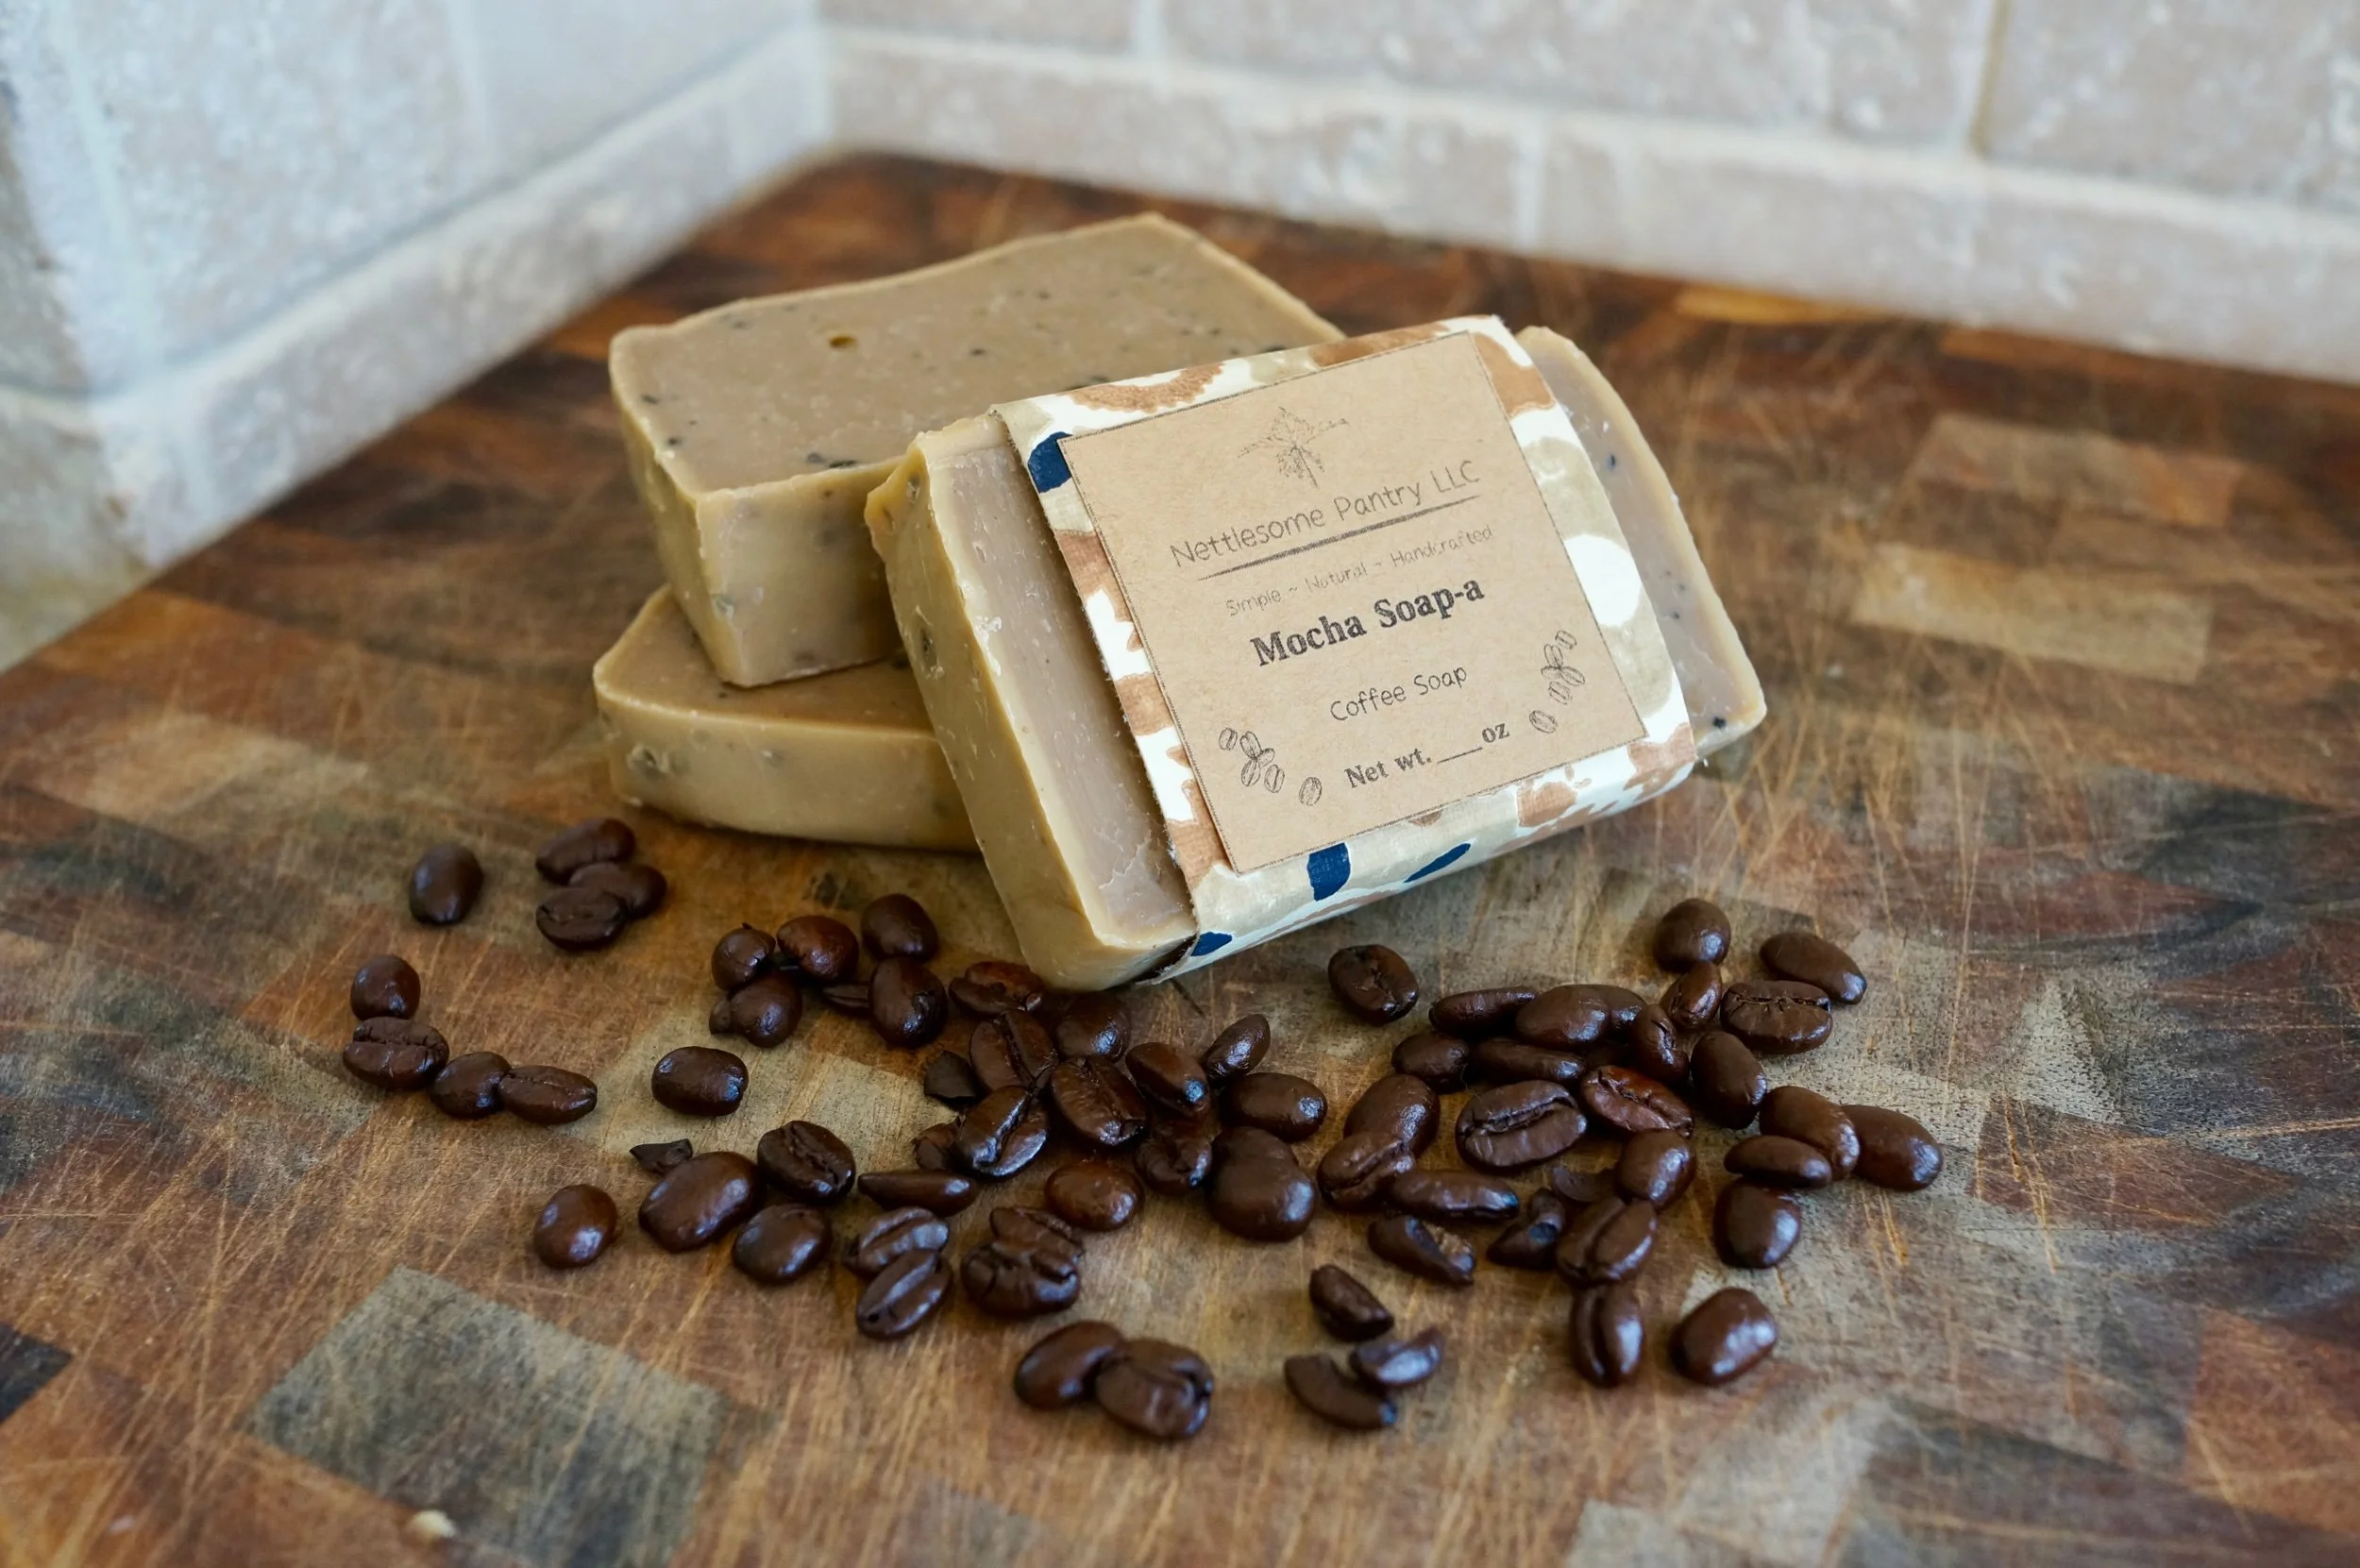
Coffee soap poured into the mold and ready to saponify for 24-48 hours.
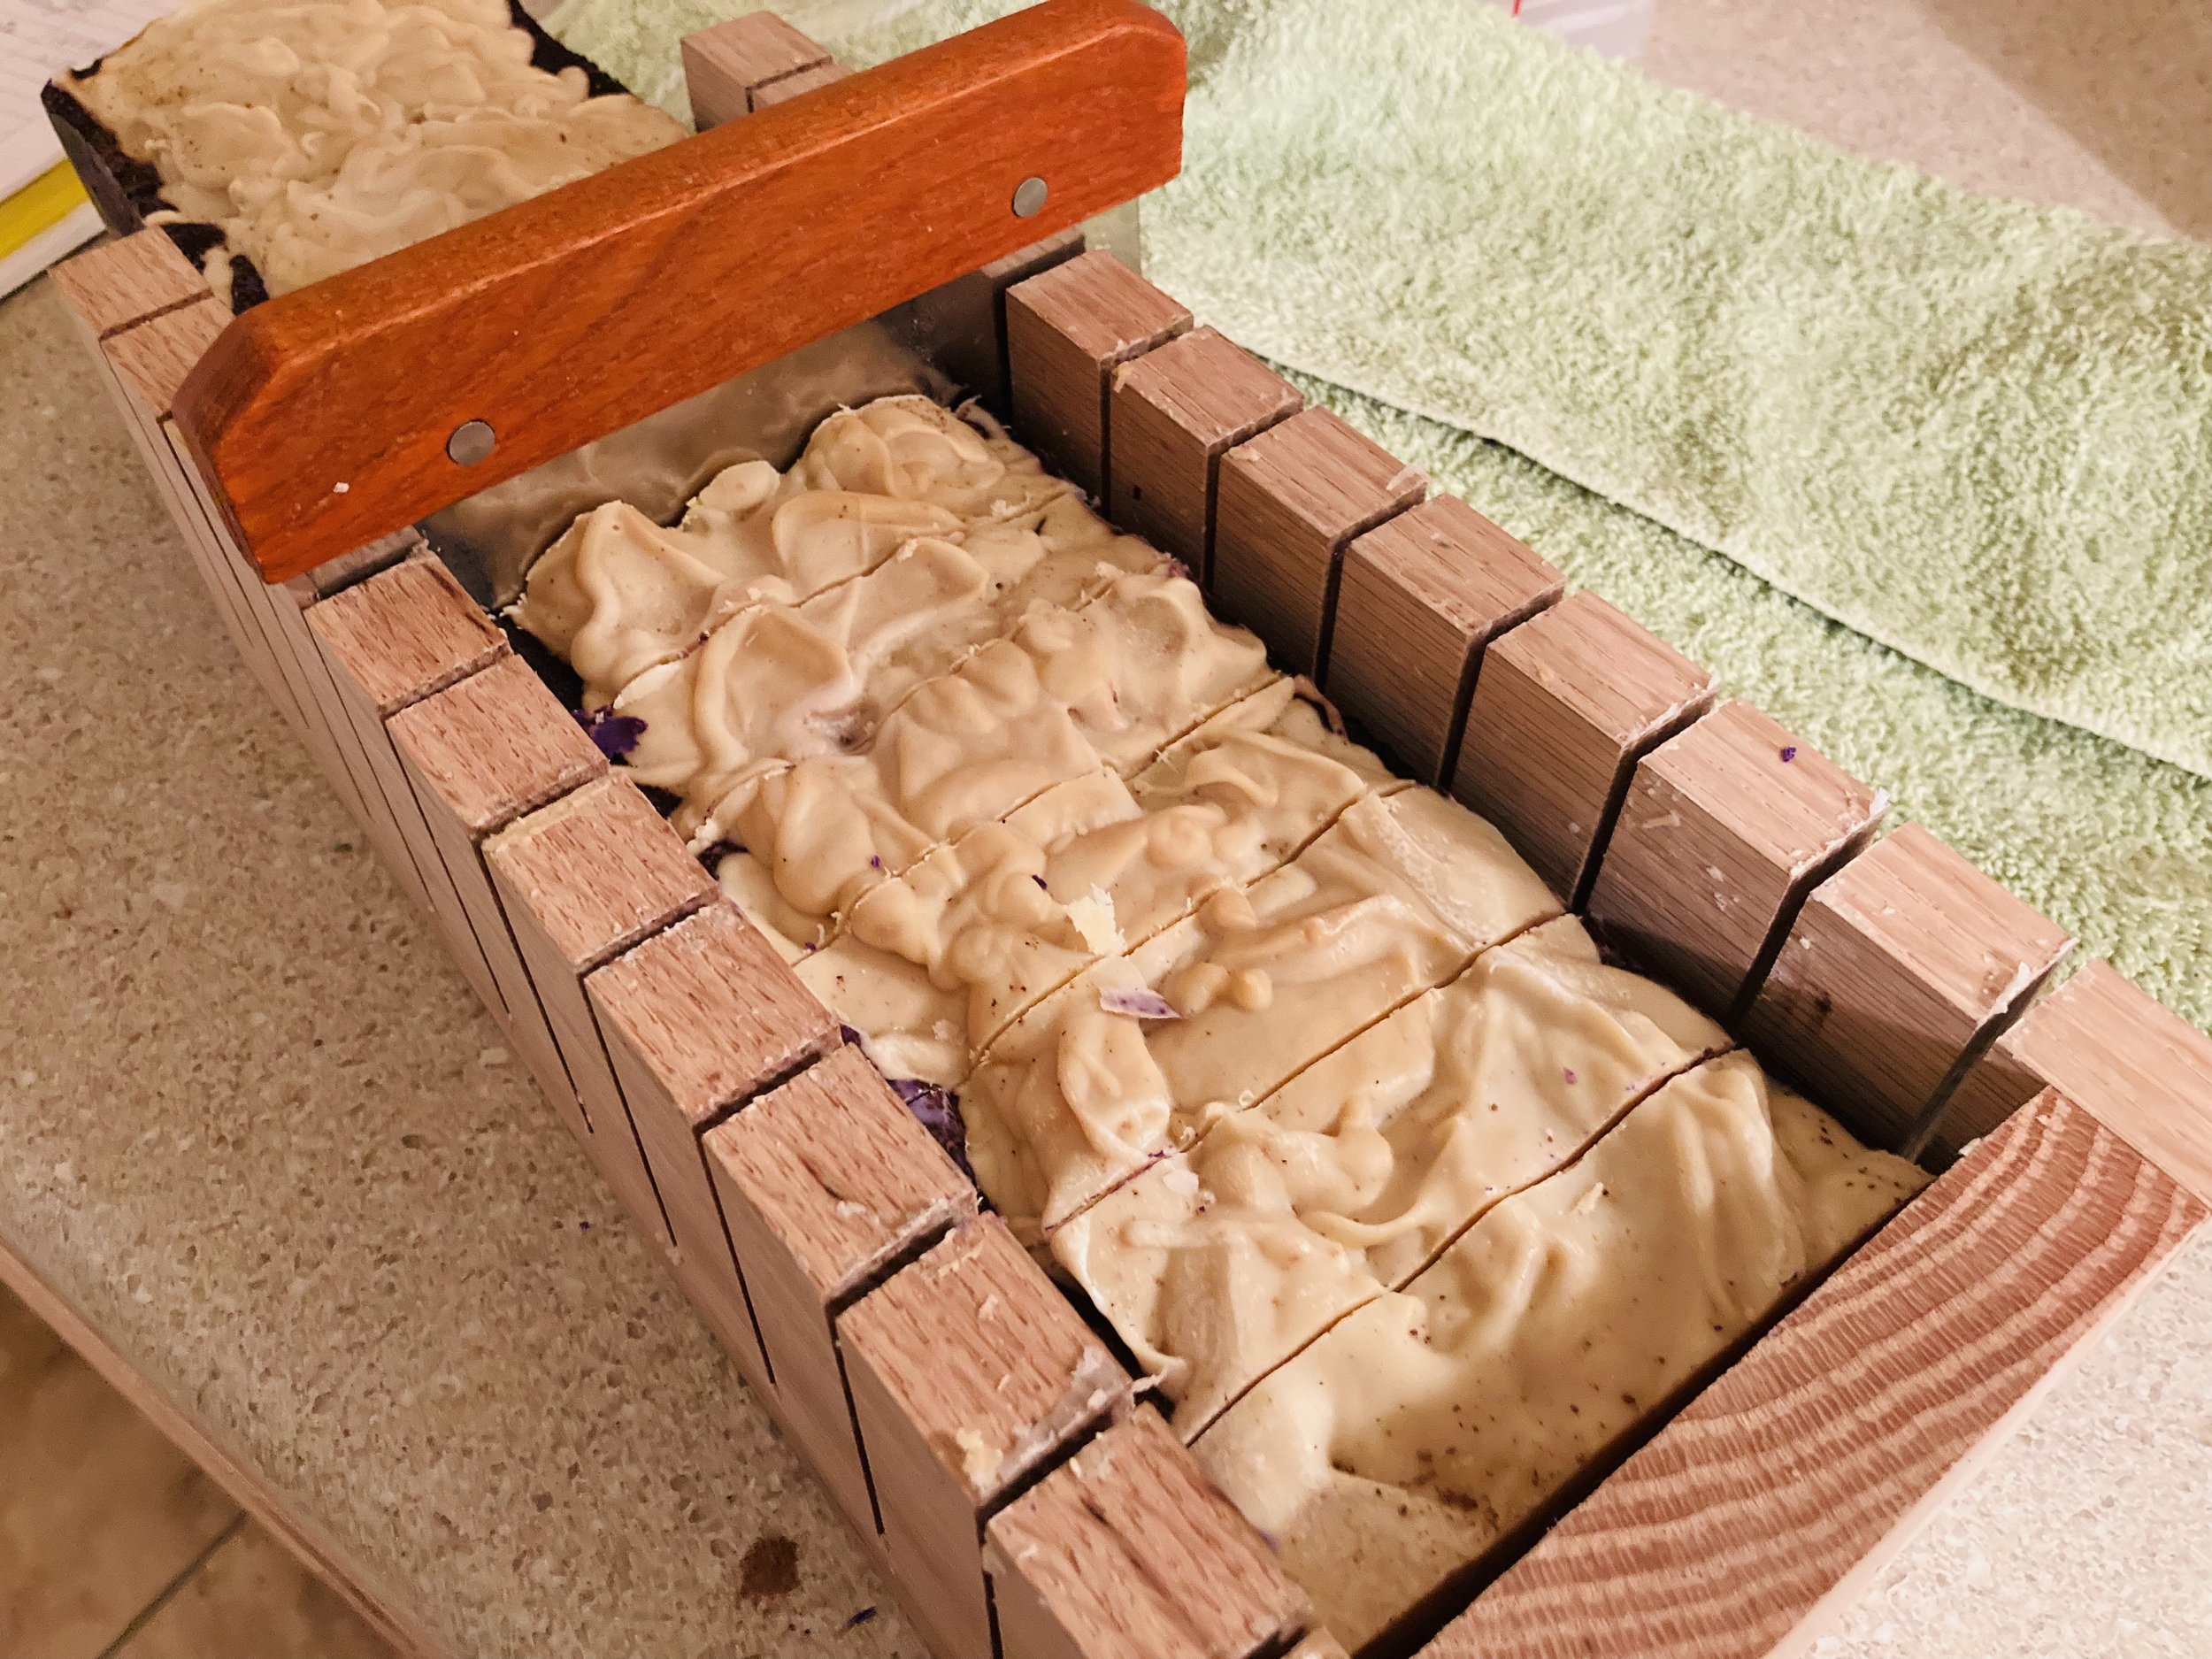
A new secret soap coming soon, being cut up after the saponification process was over.
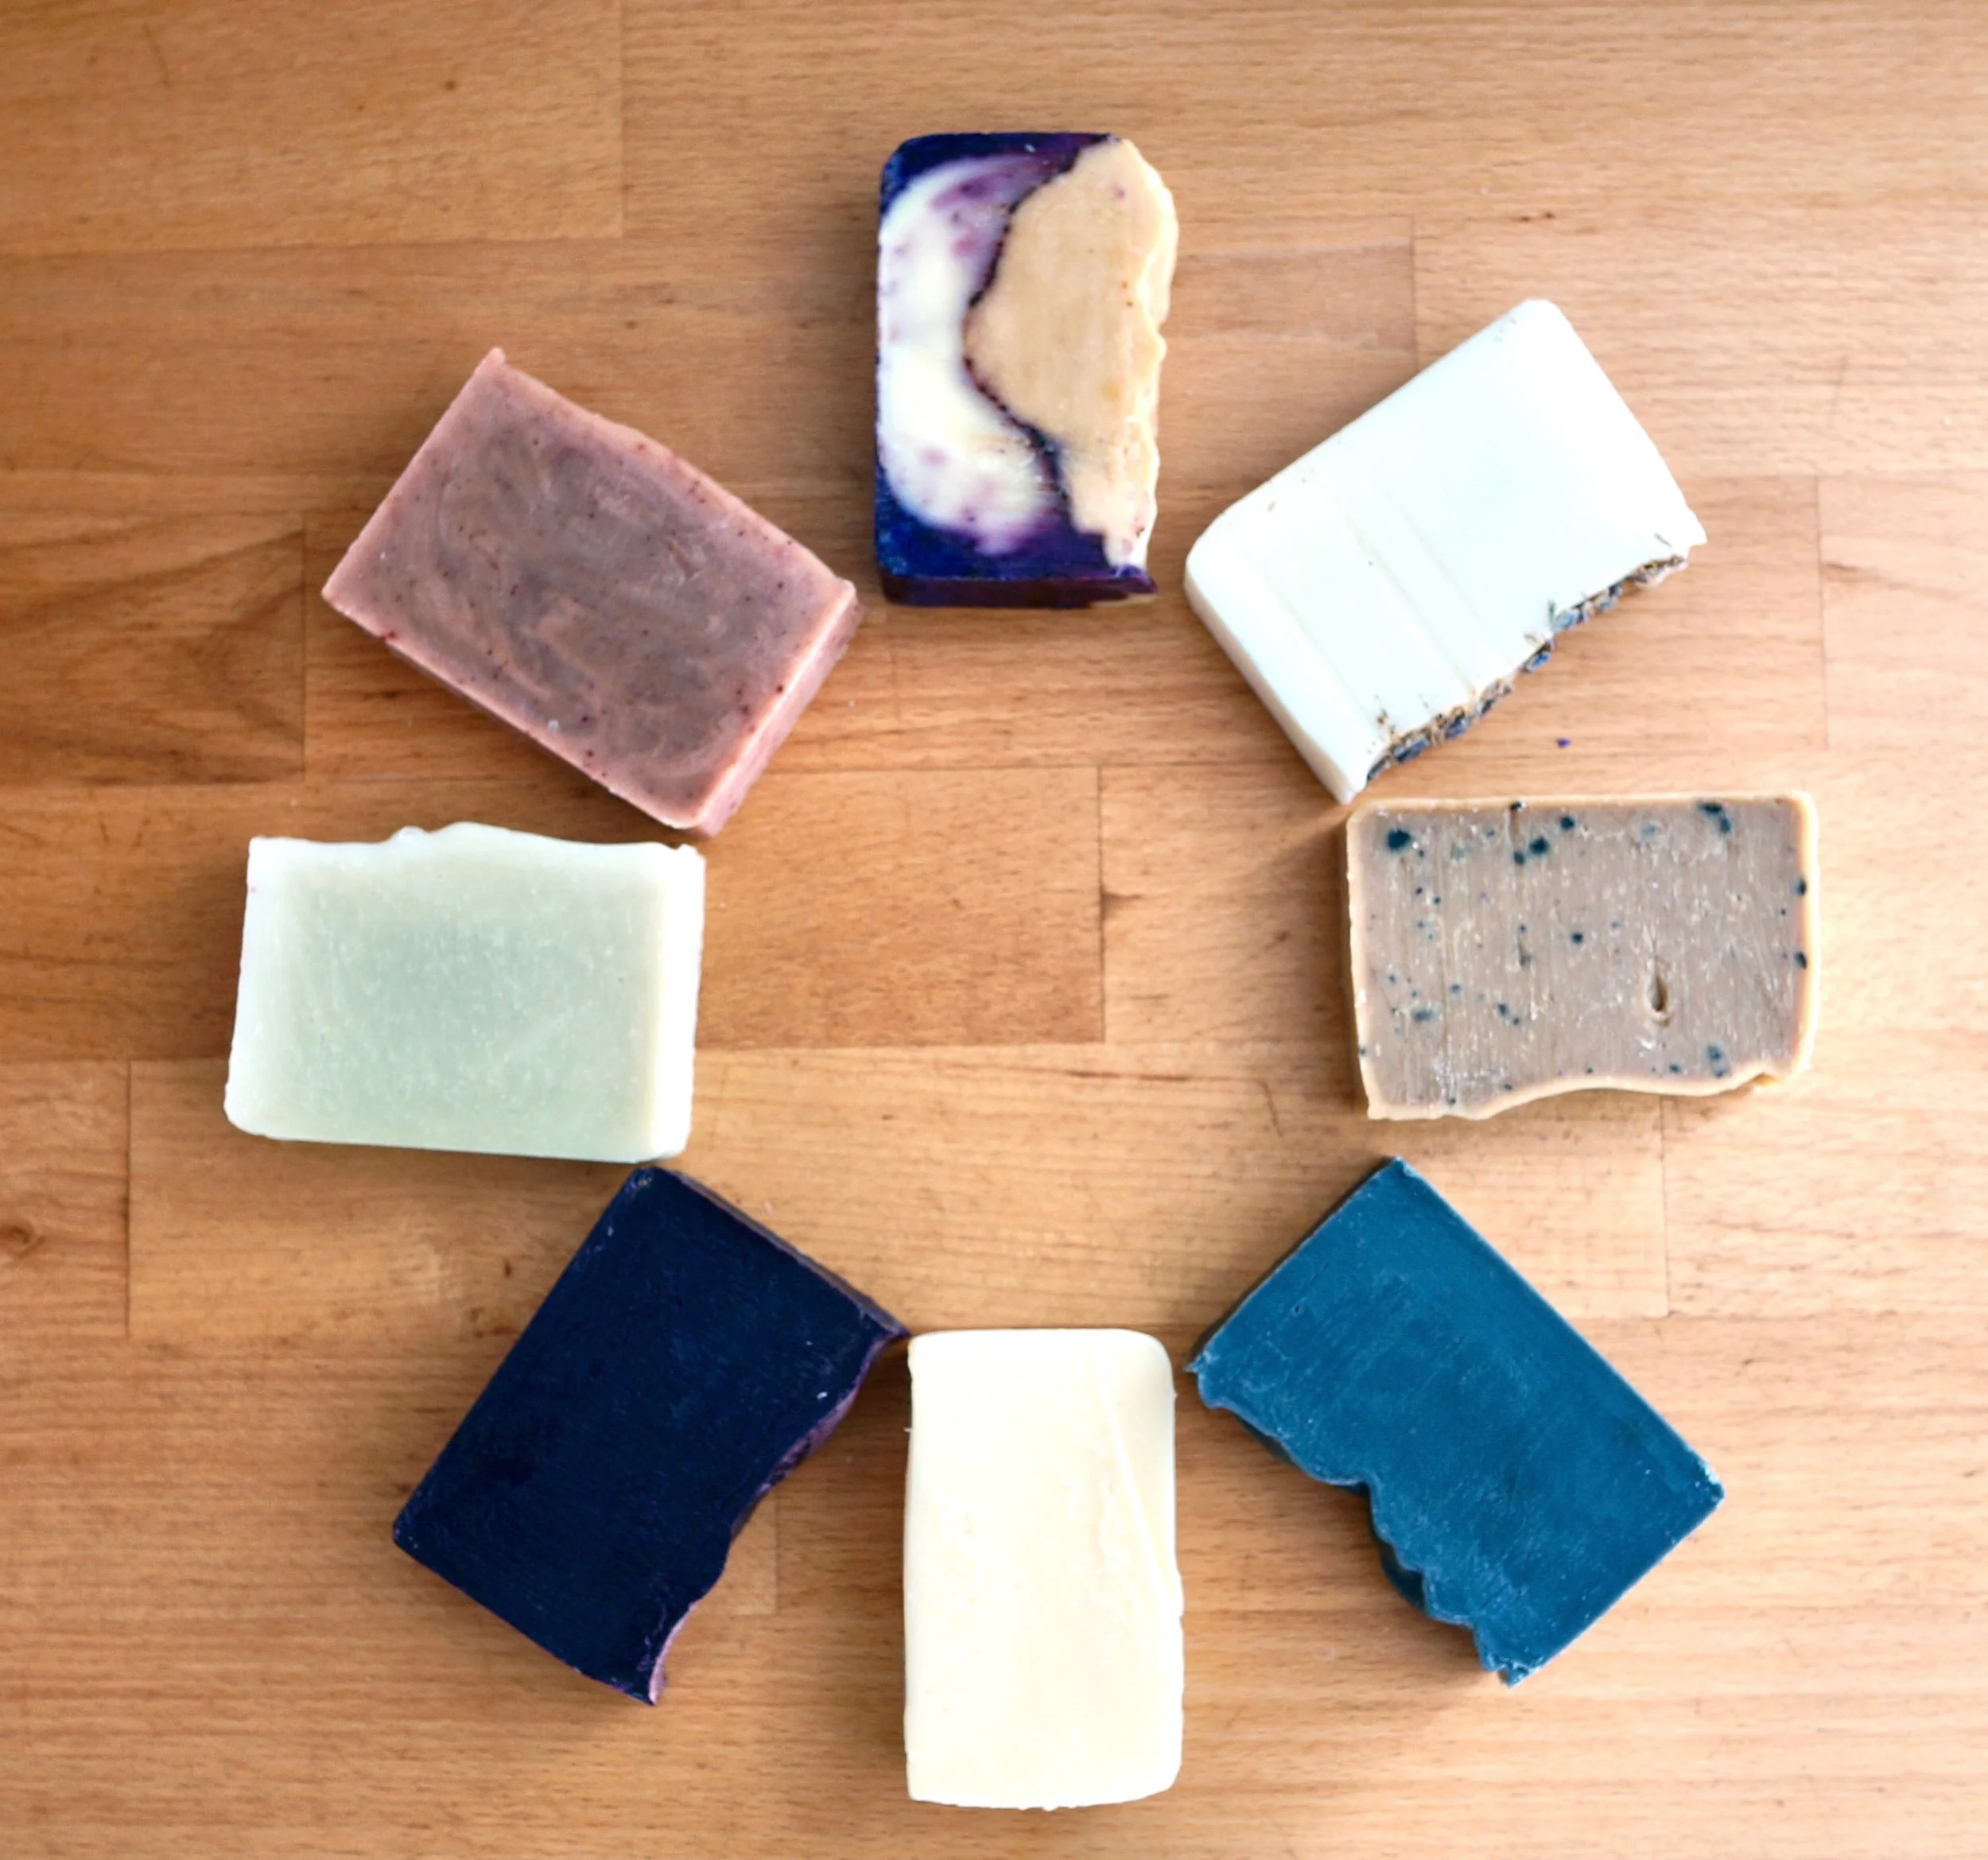
After I cut the soap it goes on to the curing rack and stays there for 4-6 weeks. Some soaps harden and cure faster than others depending on the essential oils I put in them.
I hope you liked this little tour. If you want to see the next step about the packaging process, leave a comment below and I will try to make another little studio tour.
